
Chatbot Integration
The standard Diverge chatbot is a floating widget: a launcher on your site that opens a chat window over the page. This guide is the starting point — load the script, open the chat, optionally attach session metadata.
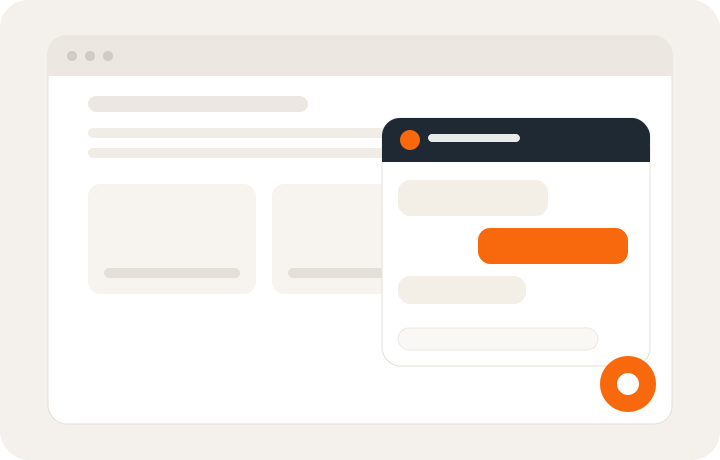
Want the chatbot to look like a search bar, sit inside the page, or fill the screen? Pick a layout on UI embeddings instead:
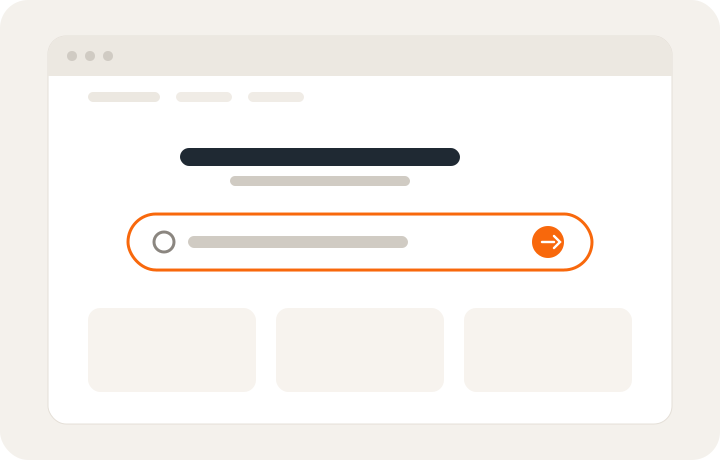 Search bar
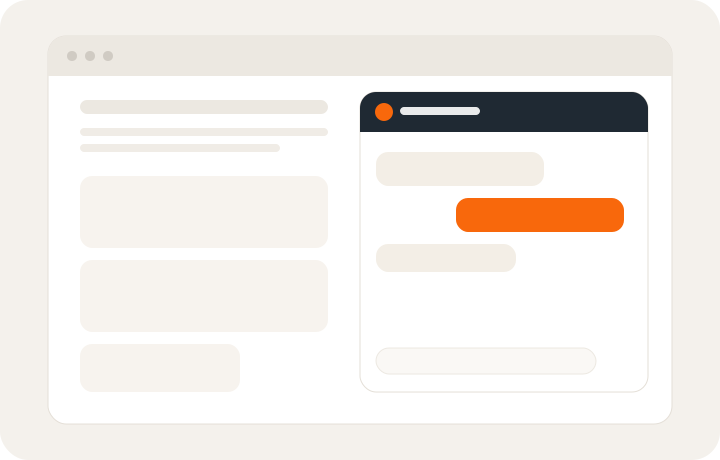 Inline chat
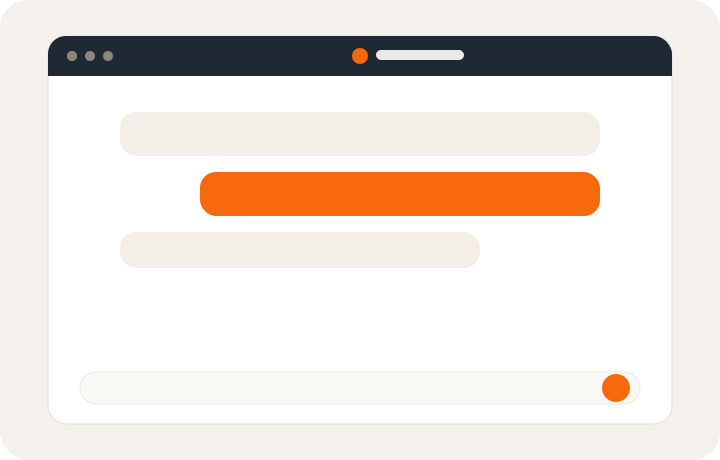 Fullscreen
Add the script
Load this on every page where the widget should appear:
<script src="https://scripts.dialogintelligens.dk/universal-chatbot.js?id=YOUR_CHATBOT_ID"></script>window.DialogIntelligens is available as soon as the script loads. You can call it before the
widget has finished initializing.
Cookie consent
By default the script keeps a visitor key in a first-party cookie (di_visitor_<chatbot_id>) and
in localStorage. It uses the key for analytics, A/B experiments, chat-open and purchase tracking,
Shopify cart attributes and Orders API stamps. It also keeps the date of the
visitor's last visit in localStorage, so the daily visitor count includes each visitor once a day.
If the visitor has not accepted non-essential cookies, add data-consent="essential" to the script
tag. The chatbot still works, but in essential mode:
- the script reads, creates and sends no visitor key and sets no
di_visitor_*ordi_stamp_*cookie; - nothing is sent for analytics, experiments, chat opens or purchases, and the Shopify cart gets no visitor attributes;
- the page view is still counted without any identity (only the device type and whether the page shows a product), but no visit date is kept, so the visitor is not in the daily visitor count;
- the chat window keeps the conversation for the browser tab only. It survives a reload in the same tab, but not closing the tab, and other tabs start their own conversation.
<script
src="https://scripts.dialogintelligens.dk/universal-chatbot.js?id=YOUR_CHATBOT_ID"
data-consent="essential"
></script>When your consent tool reports the visitor's choice, pass it on. A tool that already knows a stored choice on page load should do so as soon as the chatbot API is ready:
function reportConsent(accepted) {
window.DialogIntelligens.setConsent(accepted ? "all" : "essential");
}
if (window.DialogIntelligens) reportConsent(visitorAcceptedCookies());
else window.addEventListener("di-chatbot-api-ready", () => reportConsent(visitorAcceptedCookies()));setConsent("all")starts the visitor key and tracking at once. The conversation of the current tab is kept from then on, unless the browser already keeps one from an earlier visit, which is shown instead.setConsent("essential")stops tracking at once and removes the visitor key, its cookies and the Shopify cart attributes the script stored earlier. Use it when the visitor refuses or withdraws consent. The chat window then starts a conversation for the tab only; a conversation it kept earlier stays in the browser unread, and is shown again if the visitor consents later.data-consent="essential"alone removes nothing, so a visitor who consented earlier keeps their identity once you callsetConsent("all").
A chat window that has already loaded reloads when consent changes, so report a stored choice
before the visitor opens the chat. Consent applies to the page where you set it: report it on every
page, and put the attribute on every Diverge script tag, including the layouts on
UI embeddings. An unrecognized value is treated as "essential".
Availability and service health
Use availability and health subscriptions for every custom entry point, whether or not your site uses Shopify or currently runs an on/off experiment.
Custom buttons, links, and search forms
There are two independent signals:
- Availability decides whether this visitor may use chat. Its reasons remain
normal,experiment, orunavailable. The subscription reports the current value once configuration is ready, then any changes. On/off experiment assignments persist through outages. - Service health reports
checking,available, orunavailable. It checks database availability and whether the API-owned AI runtime is ready to accept conversations. It does not guarantee the next model response will succeed. The getter waits for the initial check; subscriptions immediately reportcheckingwhile it runs. Destroying the integration settles a pending health getter asunavailable.
Start your chat entry point hidden, then enable it only when availability has enabled: true
and health has status: "available". You own this UI: you can hide it, disable it, or offer
your normal search/contact experience. Diverge never modifies your custom buttons or forms.
This complete example preserves a contact link if the loader fails to download, configuration is still loading, the visitor is in Bot off, or the service is unavailable:
<style>
#custom-chat-entry[hidden],
#chat-fallback[hidden] {
display: none !important;
}
</style>
<div id="custom-chat-entry" hidden>
<button id="custom-chat-button" type="button">Chat with us</button>
</div>
<a id="chat-fallback" href="/contact">Contact us</a>
<script src="https://scripts.dialogintelligens.dk/universal-chatbot.js?id=YOUR_CHATBOT_ID"></script>
<script>
const api = window.DialogIntelligens;
const entry = document.getElementById("custom-chat-entry");
const fallback = document.getElementById("chat-fallback");
let eligible = false;
let healthy = false;
function renderChatEntry() {
const ready = eligible && healthy;
const focusWasInEntry = entry.contains(document.activeElement);
const focusWasOnFallback = document.activeElement === fallback;
entry.hidden = !ready;
fallback.hidden = ready;
if (!ready && focusWasInEntry) fallback.focus({ preventScroll: true });
if (ready && focusWasOnFallback) {
document.getElementById("custom-chat-button").focus({ preventScroll: true });
}
}
if (api?.onAvailabilityChange && api?.onServiceHealthChange) {
const stopAvailability = api.onAvailabilityChange(({ enabled }) => {
eligible = enabled;
renderChatEntry();
});
const stopHealth = api.onServiceHealthChange(({ status }) => {
healthy = status === "available";
renderChatEntry();
});
document.getElementById("custom-chat-button").onclick = () => {
if (eligible && healthy) api.open();
};
// In a single-page app, call both unsubscribe functions when removing this component.
window.disposeCustomChatEntry = () => {
stopAvailability();
stopHealth();
};
}
</script>To send a pre-filled question, replace api.open() with
api.open("I need help with my order"). Use the same subscriptions around an anchor, a custom
search form, or an image-upload interface. For a search form, keep its normal search route as
the fallback. Hide the complete chat wrapper so loading or Bot off leaves no empty space.
The example loads the script synchronously before binding the subscriptions. If you use async
or inject the script later, bind in its load handler and preserve the fallback on error.
Keep the loader installed for both experiment groups so assignment and measurement continue.
Do not infer assignment from cookies, the visible launcher, or whether someone starts a chat.
When caching, self-hosting, or pinning script versions, update the chatbot loader and its UI scripts together and refresh both caches. The updated search bar stays hidden if an older loader does not expose service health; refresh the loader too rather than enabling the search manually.
The built-in launcher, popup, inline search bar, and unopened inline embed handle both signals
automatically, including hidden-mode installations. An outage leaves already-open conversations
in place with their existing messages, errors, and retry controls. Experiment Bot off continues
to suppress chat. Legacy custom code keeps its existing open()/show() behaviour; it gains
health-aware entry points by adopting the subscriptions above.
Health follows the loader's own configuration requests, so it adds no requests to your pages. It is checked every 30 seconds while the chat is open or an experiment runs. While the service is unavailable, the loader retries at growing intervals of up to five minutes, or a few seconds after the visitor's connection returns. A visitor who returns to the tab checks it again after five minutes. The loader allows eight seconds for each request. Transient configuration failures retry automatically; a successful refresh restores eligibility without a page reload.
For your own monitoring, the public, cross-origin GET /api/v1/chatbot-public/health endpoint on
your chatbot backend returns HTTP 200 with { "status": "available" } or HTTP 503 with
{ "status": "unavailable" }, with Cache-Control: no-store. The subscriptions above handle
network failures and timeouts for your integration.
If the chat is already open, open(message) still delivers the message.
Open the chat
open() opens the widget if it is closed and never toggles it shut.
From a URL
Append ?chat=open to any page where the script is loaded. The chat opens on page load, then the
parameter is stripped from the address bar.
https://example.com/page?chat=openInclude a pre-filled question with chatbot_message. Using that parameter alone also opens the
chat:
https://example.com/page?chat=open&chatbot_message=I+need+help+with+my+orderhttps://example.com/page?chatbot_message=What+are+your+opening+hours%3FThese parameters run once per page load. They work well for email campaigns, QR codes, and FAQ links.
With an image
Your site owns the upload UI. Pass the visitor's File; Diverge opens the chatbot and sends the
image as the first message. Text is optional.
<!-- Place this inside your availability- and health-controlled wrapper above. -->
<label for="product-image">Choose a product image</label>
<input id="product-image" type="file" accept="image/*" />
<button id="find-similar" type="button">Find similar products</button>
<script>
document.querySelector("#find-similar").addEventListener("click", () => {
if (!eligible || !healthy) return;
const image = document.querySelector("#product-image").files[0];
if (!image) return;
window.DialogIntelligens.open({
image,
message: "Find products similar to this", // Optional
});
});
</script>Images must be valid image files no larger than 5 MB. Diverge resizes large images before they enter the normal chatbot image flow. Invalid or oversized files are rejected.
From your own widget
Use the supported public API from your availability- and health-controlled component. It opens and initializes the chat; no iframe selector or fixed delay is needed.
if (eligible && healthy) {
window.DialogIntelligens.open("I need help with my order", "custom-widget");
}Ready-made search bar and in-page layouts live on UI embeddings.
JavaScript API
| Method | Description |
|---|---|
open() | Opens the chat window |
open(message) | Opens the chat window and sends a pre-filled message |
open({ image, message? }) | Opens the chat and sends an image with optional text |
hide() | Hides the chat button and iframe completely |
show() | Shows the chat button (closed state) |
setMetadata(metadata) | Attaches metadata to the visitor's session (deep-merged) |
setSignedMetadata(token) | Attaches verified metadata from a backend-signed RS256 JWT |
destroy() | Removes the chatbot from the page entirely |
getAvailability() | Resolves to the visitor's current eligibility: { enabled, reason } |
onAvailabilityChange(callback) | Subscribes to eligibility changes; returns an unsubscribe function |
getServiceHealth() | Resolves after the initial health check, then returns current health: { status } |
onServiceHealthChange(callback) | Immediately reports current health, then changes; returns an unsubscribe function |
getVisitorStamp() | Resolves to the visitor stamp for Orders API orders, or null |
setConsent(mode) | "all" or "essential"; see Cookie consent |
setMetadata(metadata) is safe to call at any time after the script loads; patches are queued
until the widget is ready and retried until delivered. destroy() drops patches that have not been
delivered yet.
Attaching session metadata
Use setMetadata() to attach context from your page to the visitor's chat session — for example
a customer id, plan, or cart state:
<script>
window.DialogIntelligens.setMetadata({
customer: {
id: "cust-123",
plan: "premium",
},
});
</script>- Safe to call as soon as the chatbot script has loaded — even before the widget finishes initializing. Patches are queued and delivered once the widget is ready.
- Repeated calls deep-merge into the existing session metadata: nested objects merge, scalars and arrays are replaced. There is no way to delete a key.
- The merged metadata is limited to 32 KiB (JSON-encoded) and 20 levels of nesting. The keys
__proto__,prototype, andconstructorare rejected. - The top-level keys
verified_metadataandsigned_metadataare reserved for verified metadata: a patch that uses either is rejected and not retried, and none of its keys are stored. destroy()drops patches that have not been delivered yet; metadata that already reached the server stays on the session.
Delivery: the session metadata appears as session.metadata in every livechat webhook event
and in the livechat agent context (including the Intercom bridge), exactly like metadata set
through the server-side Chatbot API (PATCH /api/v1/chat/session/metadata).
Dashboard: open a conversation's Session context to see these values under Session metadata · Unverified. Nested objects and arrays can be expanded. This section is separate from verified customer data, and is hidden when there is no metadata. On the Livechat page, these values also appear in a separate Session metadata · Unverified row beneath the conversation header, alongside signed metadata, without expanding Session context.
To have Diverge call your API during a conversation (for example order or delivery lookups), see Universal API Integration. Metadata is for session context on webhooks and livechat; runtime variables on that guide are what forward browser tokens into outbound API requests.
Verified (signed) metadata
When downstream systems must be able to trust metadata — for example an account id used to
look up orders — have your backend sign it as an RS256 JWT and pass the token through the widget
with setSignedMetadata(). Our API verifies the signature against a public key you configure and
stores the claims separately as verified_metadata, so consumers can always distinguish trusted
from untrusted data.
1. Generate a keypair (keep the private key on your backend; you will paste only the public key into the dashboard):
openssl genrsa -out signed-metadata-private.pem 2048
openssl rsa -in signed-metadata-private.pem -pubout -out signed-metadata-public.pem2. Configure the public key in the dashboard under Developer → Signed metadata, per chatbot and environment. Signed metadata is enabled as soon as a key is saved and disabled when the key is removed.
3. Sign a token on your backend when the visitor is authenticated. The token's claims become the verified metadata:
import jwt from "jsonwebtoken";
const token = jwt.sign(
{
sub: "account-123",
logged_in: true,
store: "sweden",
},
privateKeyPem,
{ algorithm: "RS256", expiresIn: "10m" },
);4. Pass the token through the widget on the page:
<script>
window.DialogIntelligens.setSignedMetadata(token);
</script>- Signed with RS256 using the private key matching the configured public key.
- Must include
expandiat, with a lifetime of 15 minutes or less (exp - iat ≤ 900). - Registered claims (
iss,aud,exp,iat,nbf,jti) are stripped;suband all custom claims are kept and deep-merged intoverified_metadata. - The same 32 KiB / 20-level / blocked-key limits as
setMetadata()apply to the merged result.
Semantics: queueing and retry behave like setMetadata() — safe to call before the widget is
ready. A token that fails verification (bad signature, expired, oversized) is rejected once and
not retried; sign a fresh token and call setSignedMetadata() again.
Delivery: verified claims appear as session.verified_metadata — alongside but separate from
session.metadata — in every livechat webhook event and the livechat agent context. In the
Intercom bridge, a verified sub (or user_id) claim becomes the Intercom contact external_id
so the conversation attaches to the contact you already have for that user, verified email/name
take precedence for the contact identity, and top-level scalar claims are exposed as
di_verified_* attributes. Client-side setMetadata() calls can
never write into verified_metadata, and session.metadata never contains a verified_metadata
or signed_metadata key.
Dashboard: verified claims are shown to agents on the livechat conversation and in the Conversations session context, and the free-text search on both pages matches claim values (for example a customer id or email), so agents can find every chat from the same signed-in customer.
Related reading
- UI embeddings — search bar, inline chat, fullscreen, and React components
- Chatbot Config & Theming — colors, launcher, and display settings
- Universal API Integration — call your APIs from a conversation